Wood Floor Sanding Tips, Tools & Techniques for Flawless Floors
There is something undeniably captivating about the warm glow of freshly sanded timber underfoot. Yet many homeowners live with scuffed, stained, or lifeless boards simply because the process of wood floor sanding seems daunting. This guide sweeps away that uncertainty. In around twenty minutes of reading you will learn why sanding matters, which tools to use, how to prepare, and the exact steps that turn a worn surface into a showroom-worthy statement. By the end you will understand not only the craft but the magic—so you can decide whether to DIY with confidence or brief a professional from a place of knowledge.
1. Why Choose Wood Floor Sanding?
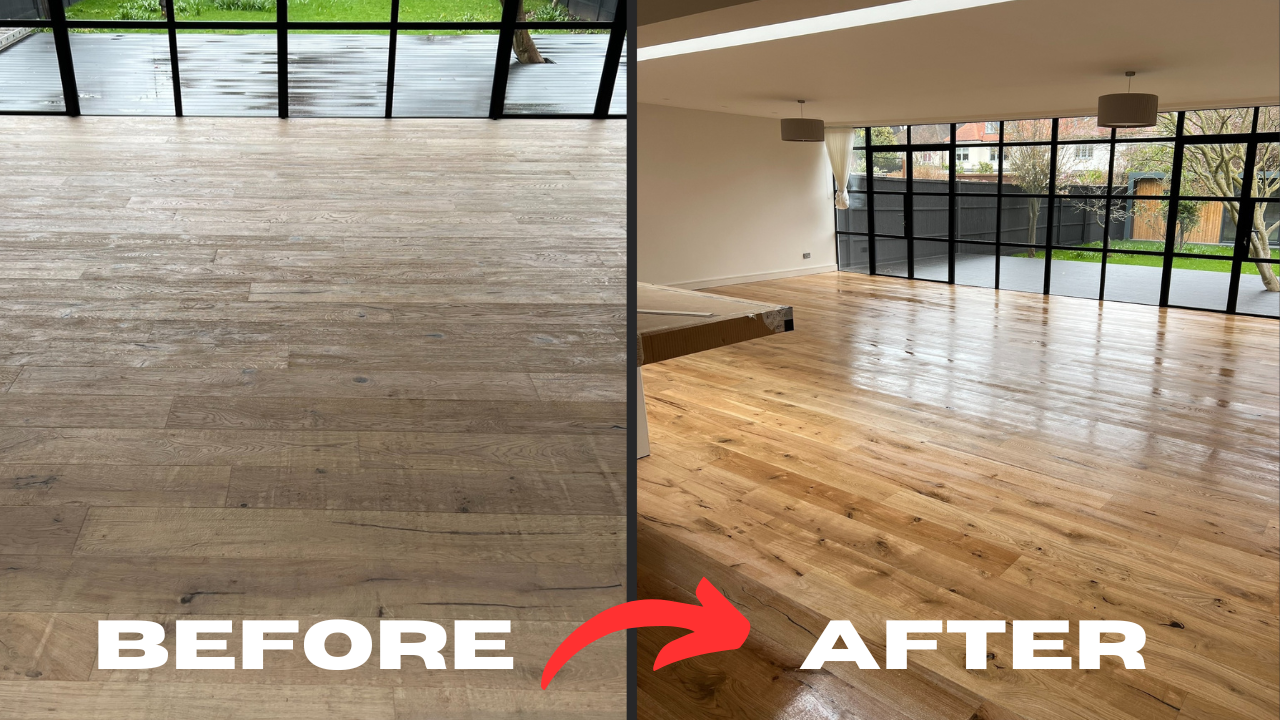
Even the finest timber succumbs to daily wear: micro-scratches from pets, heel marks, UV discolouration, or the slow creep of water stains. Left untreated, these blemishes penetrate deeper, making later restoration more expensive—or impossible without replacement. Wood floor sanding removes the tired upper layer (usually 0.5–1 mm), revealing fresh grain that can accept modern finishes and protect the boards for another decade or more. You will gain:
- Renewed beauty – natural hues and patterns re-emerge.
- Enhanced hygiene – sanding eliminates embedded dirt and allergens.
- Longevity – fresh sealants guard against future spills and scratches.
- Added value – estate agents routinely cite restored floors as a premium selling point.
In short, sanding is the quickest route from dreary to dazzling without lifting a single board.
2. Know Your Floor: Timber Types & Existing Finishes
Before lifting a sander, identify what lies beneath:
| Timber | Common Traits | Sanding Notes |
|---|---|---|
| Pine (Victorian/Edwardian boards) | Soft, knotty, yellow-brown | Grit sequence must be gentle to avoid dish-outs. |
| Oak | Hard, pronounced grain | Tolerates aggressive grits; accepts stains evenly. |
| Maple | Very hard, pale cream | Slow to sand; shows swirl marks if you rush. |
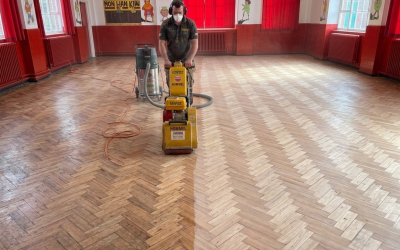
| Parquet (Herringbone, Chevron) | Small blocks, varied grain direction | Requires diagonal passes and light pressure. |
| Engineered (4–6 mm wear layer) | Ply base with hardwood top | Limit to 1–2 full sand-downs in its life. |
Also note existing coatings: waxes clog abrasives, while old varnish turns to fine dust. A quick acetone test (wipe a corner; if the cloth darkens, it is wax or oil) tells you what you’re up against and which solvents or grits to begin with.
3. Essential Equipment & Safety Gear
Quality results hinge on the right kit. Hire shops will supply most items inexpensively for a weekend:
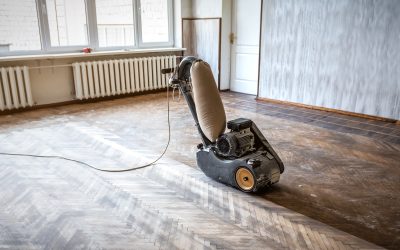
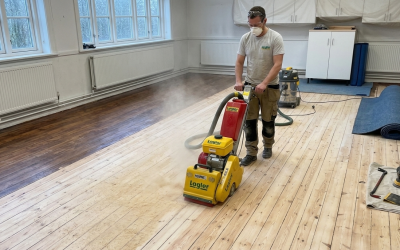
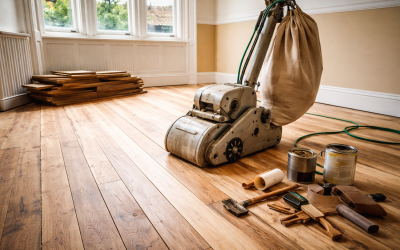
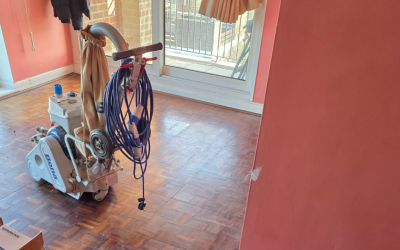
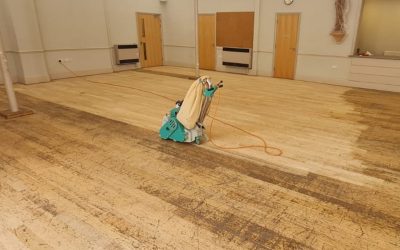
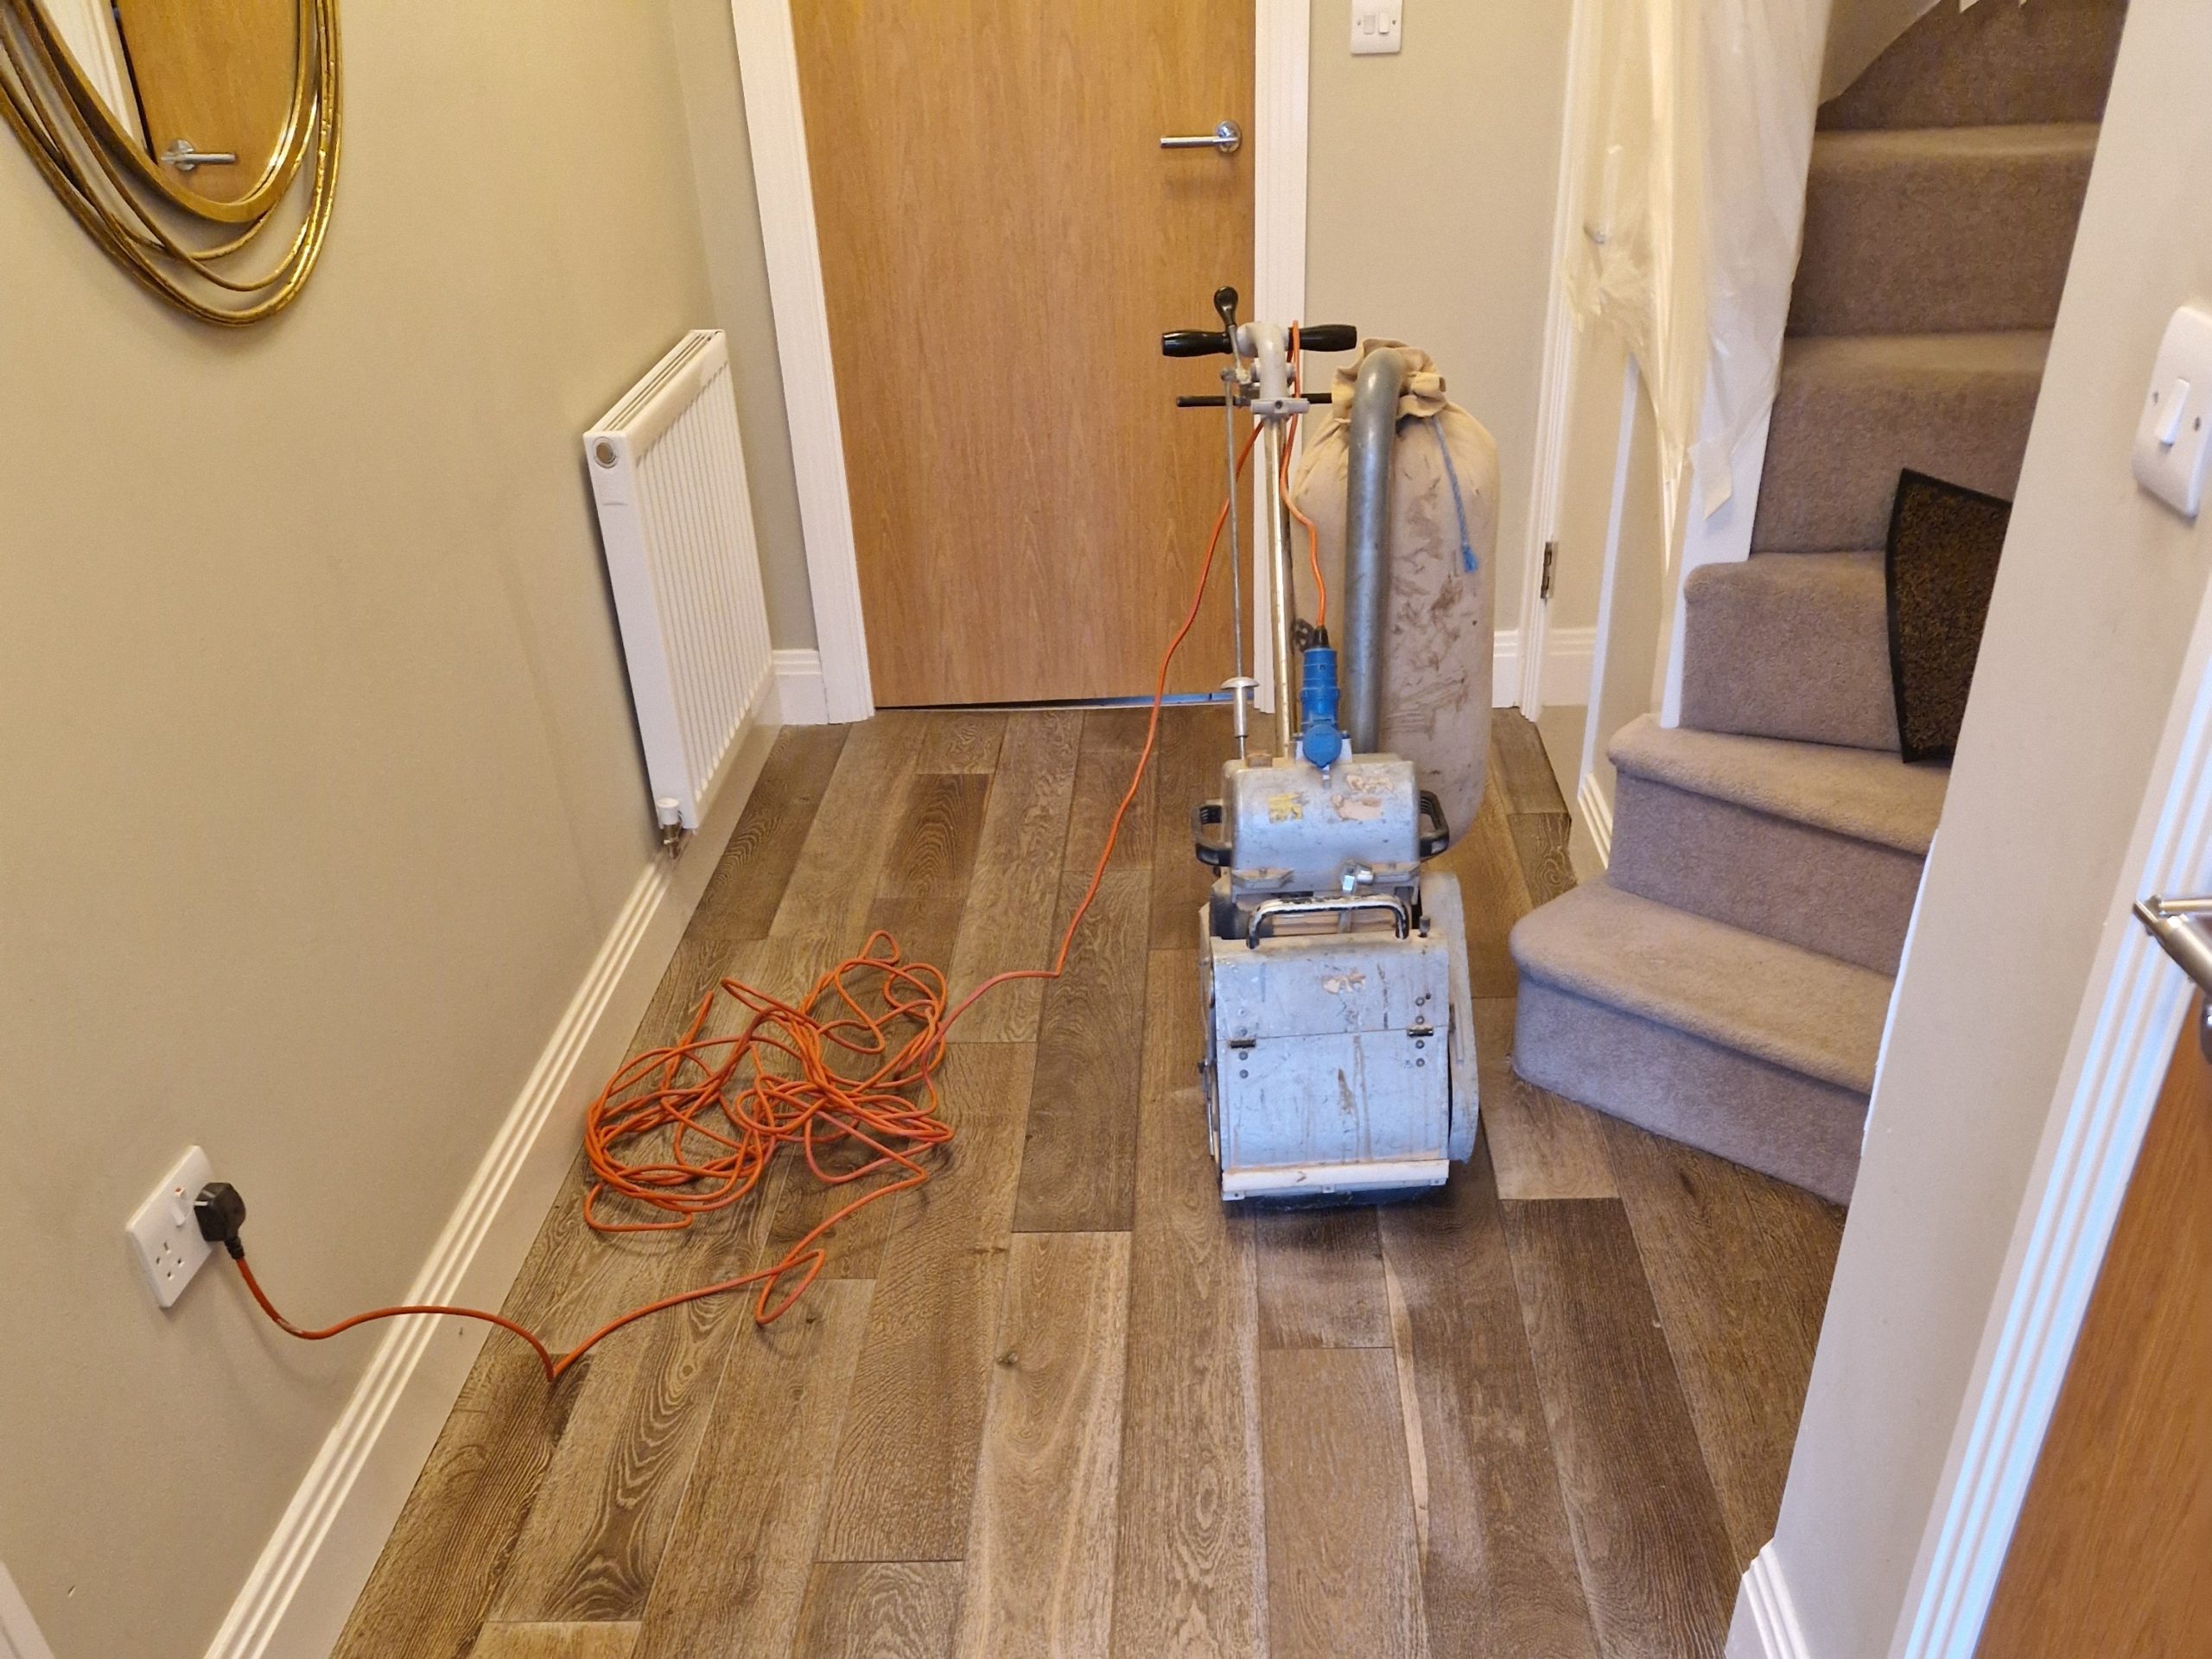
- Drum or belt sander – for the main field of the floor.
- Edger – a smaller, circular machine tackling skirtings and corners.
- Detail corner sander or multi-tool – for tight spots, stair treads, and around radiator pipes.
- Abrasives – typically 24, 40, 80, and 120-grit sheets or discs.
- Vacuum cleaner with HEPA filter – keeps dust at bay between passes.
- PPE – FFP2 dust mask, ear defenders, eye protection, and knee pads.
- Hand tools – nail punch, hammer, wood filler knife, and tape measure.
Never skimp on safety. Fine sanding dust can linger for days and irritate lungs, while decibel levels regularly exceed 100 dB—roughly equivalent to a chainsaw.

4. Preparing the Space for Success
Sanding rewards the meticulous. Set aside at least half a day to transform the room into a clean, obstacle-free workspace:
- Remove all furniture and soft furnishings; tape plastic over doorway gaps to contain dust.
- Lift thresholds and beading if they overlap the boards; label them for easier refit.
- Secure loose boards with lost-head nails or trim screws, punching fixings 2–3 mm below the surface.
- Check for protruding nails using a metal detector or the edge of a scraper—rogue metal shreds sanding belts in seconds.
- Vacuum thoroughly to stop grit scratching during the coarse pass.
Good preparation can shave hours off the floor sanding itself and protects your hire deposit by avoiding torn belts or clogged discs.
5. The Grit Sequence Explained
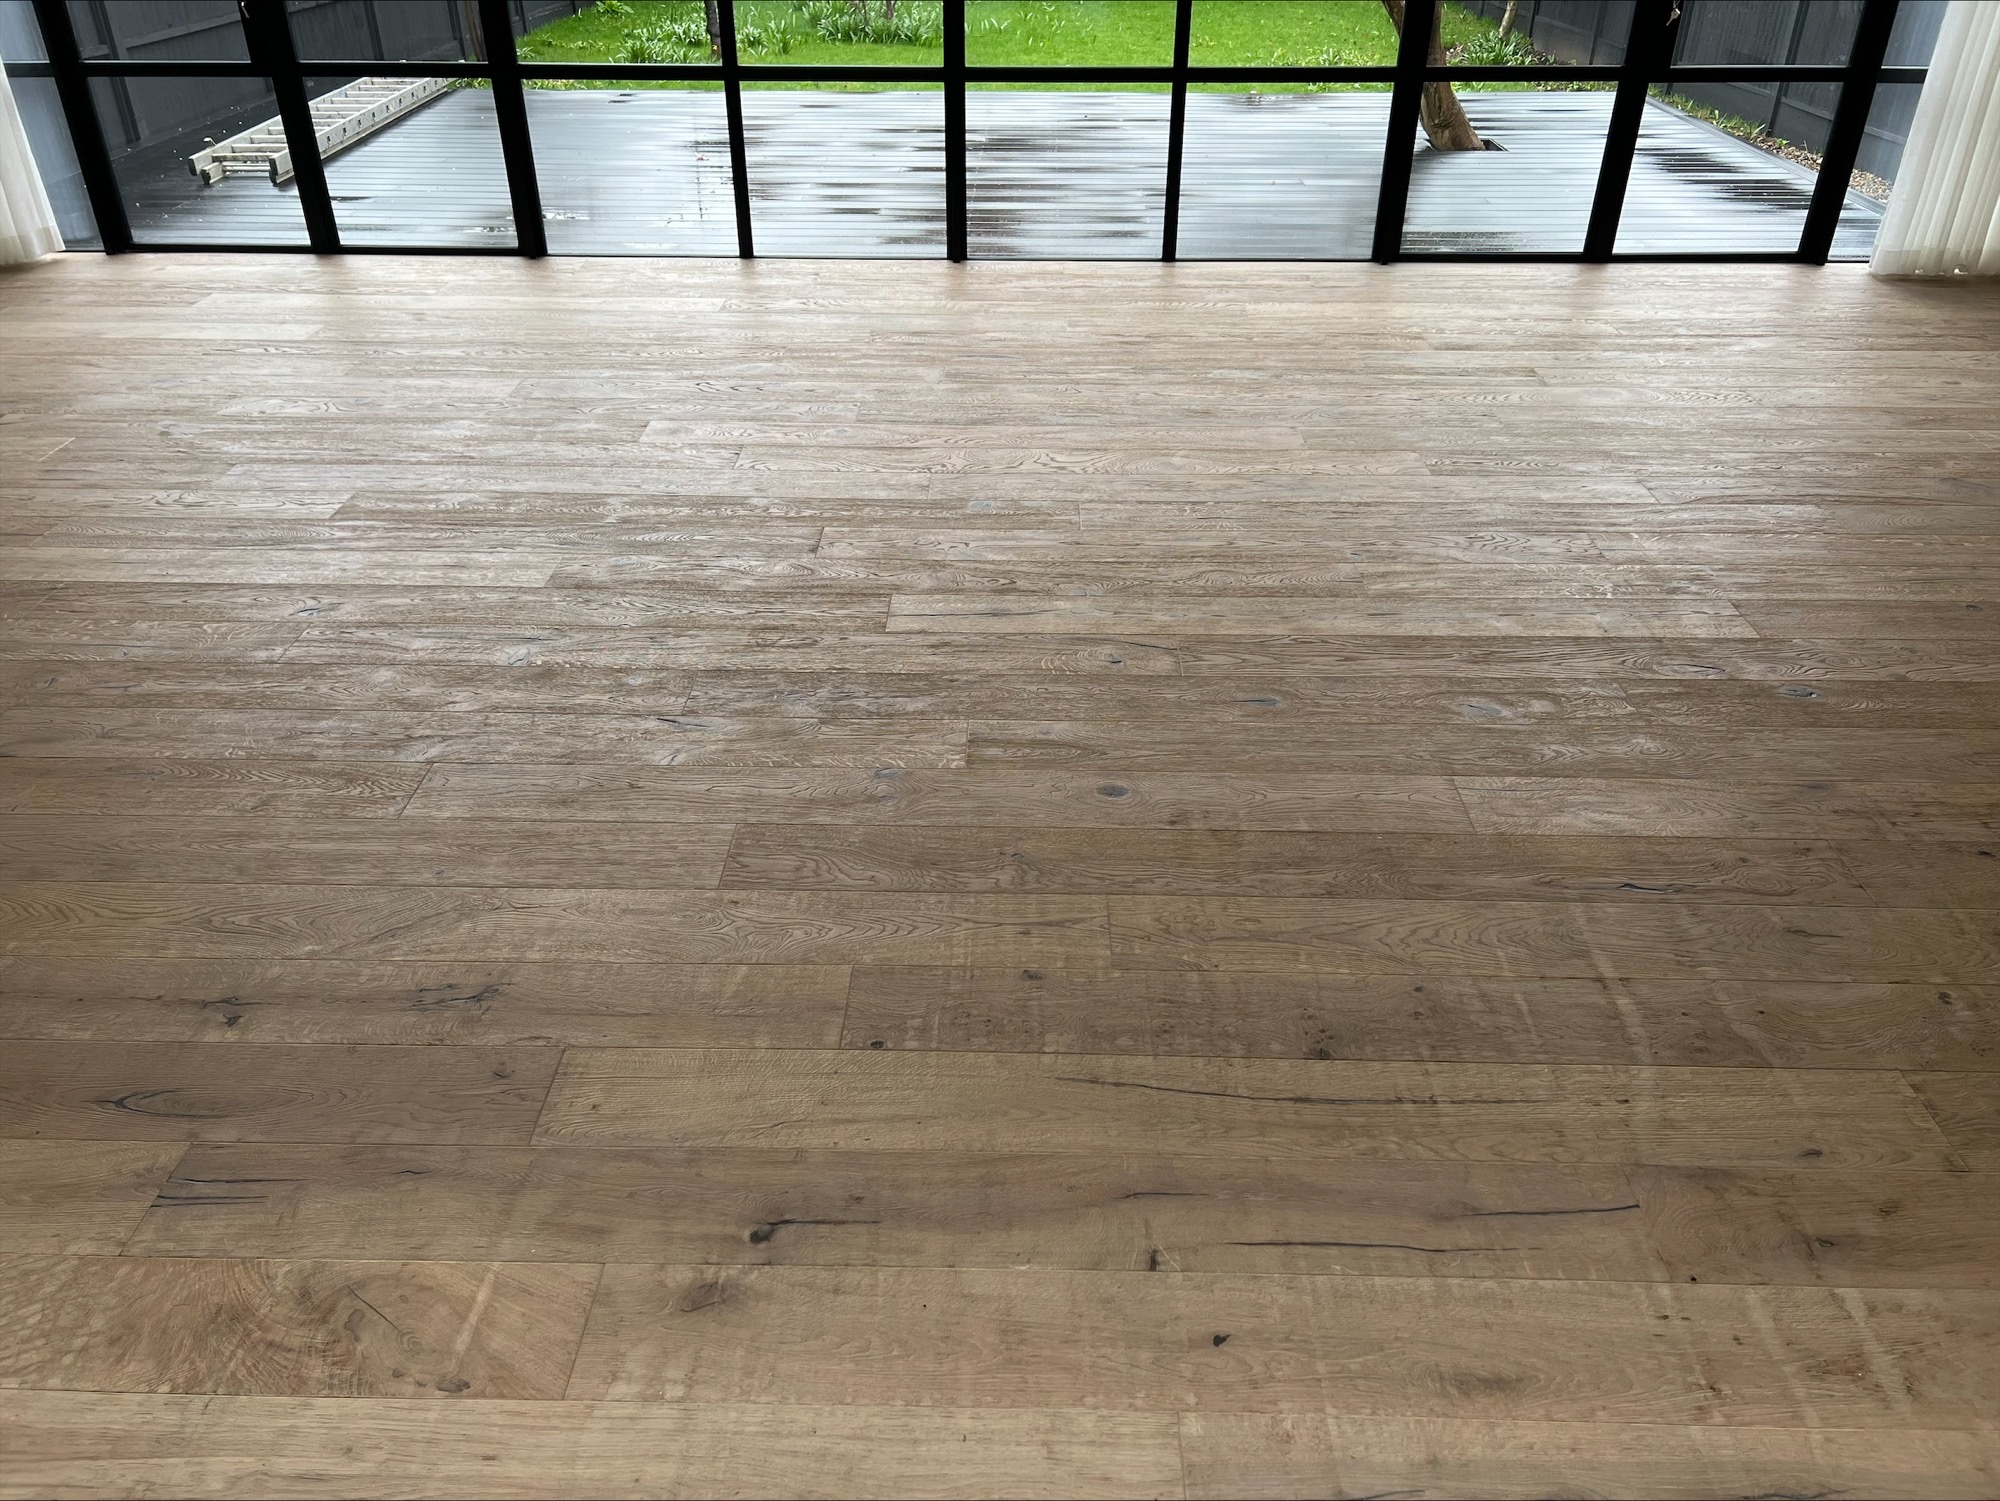
Think of grits as time travel for your floor: coarse papers whisk you back to bare timber, while fine grades propel you to a silky future. Skipping stages saves neither time nor money—it simply leaves visible scratches that haunt the final coat. A proven beginner sequence is:
- 24-grit – strips finishes, levels minor cupping, removes deep dents.
- 40-grit – cleans up 24-grit scratches, exposes consistent raw wood.
- 80-grit – erases 40-grit lines and prepares for filler and stain.
- 120-grit – polishes the surface for sealers or oils.
On extremely rough boards start at 16-grit; on lightly worn engineered layers you may begin at 40. Always choose the lowest grit that makes uniform, bare timber in one pass without burning.
6. Mastering the First Pass: Coarse Sanding
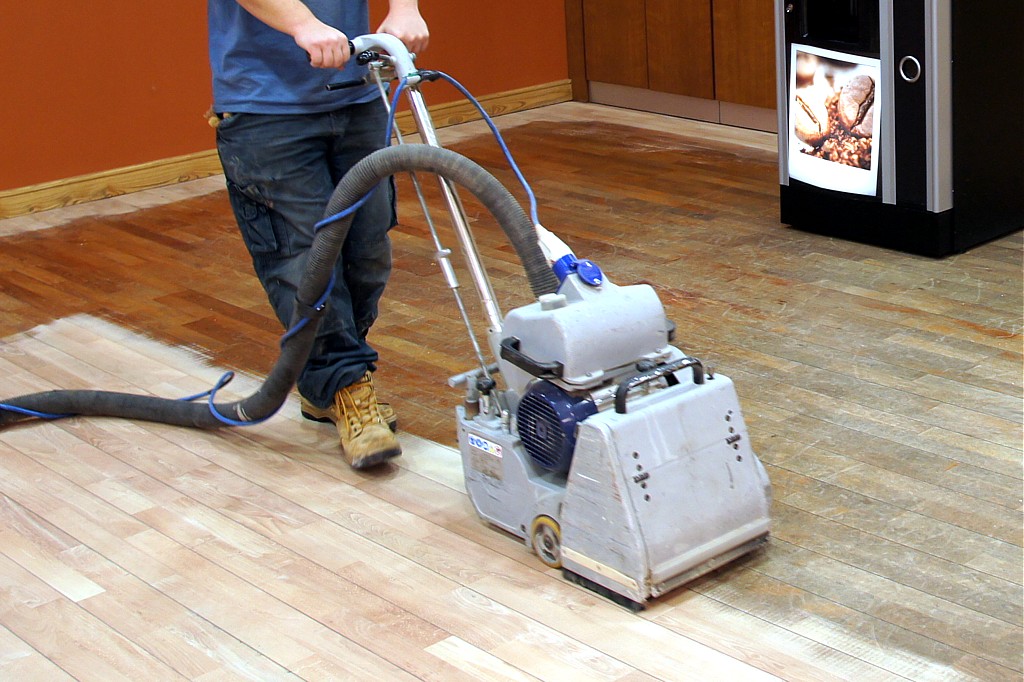
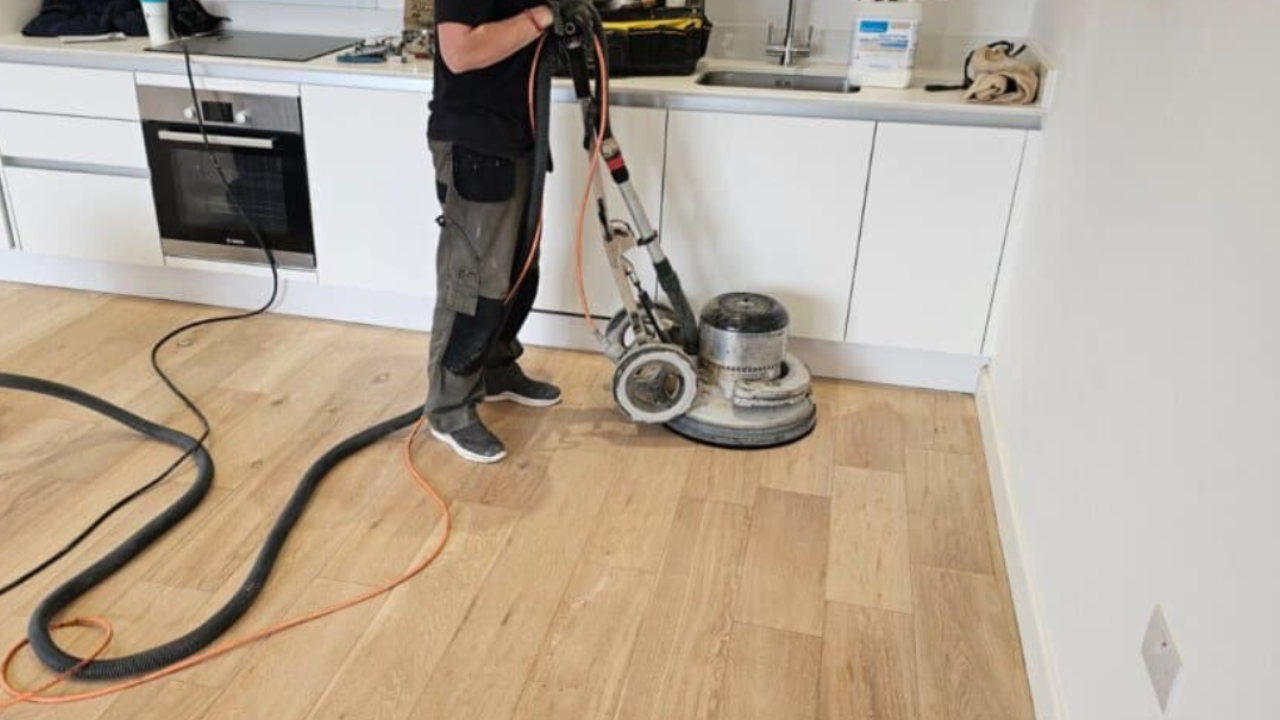
With ear defenders on and confidence high, angle the drum sander fractionally (7–10°) from the board direction. This spreads cutting pressure and reduces ripple marks. Keep a steady pace—too slow scorches the wood; too fast leaves old finish stripes. Overlap each run by one-third and never lift the drum while in motion or it will gouge. At the room’s end, feather the drum up, pivot, then lower gently for the return.
After every two belts, vacuum the floor and machine to prevent clogging. Inspect for lipping (adjacent boards at differing heights) and knock down high boards with a hand scraper if needed.
7. Tackling Edges, Corners & Stairs
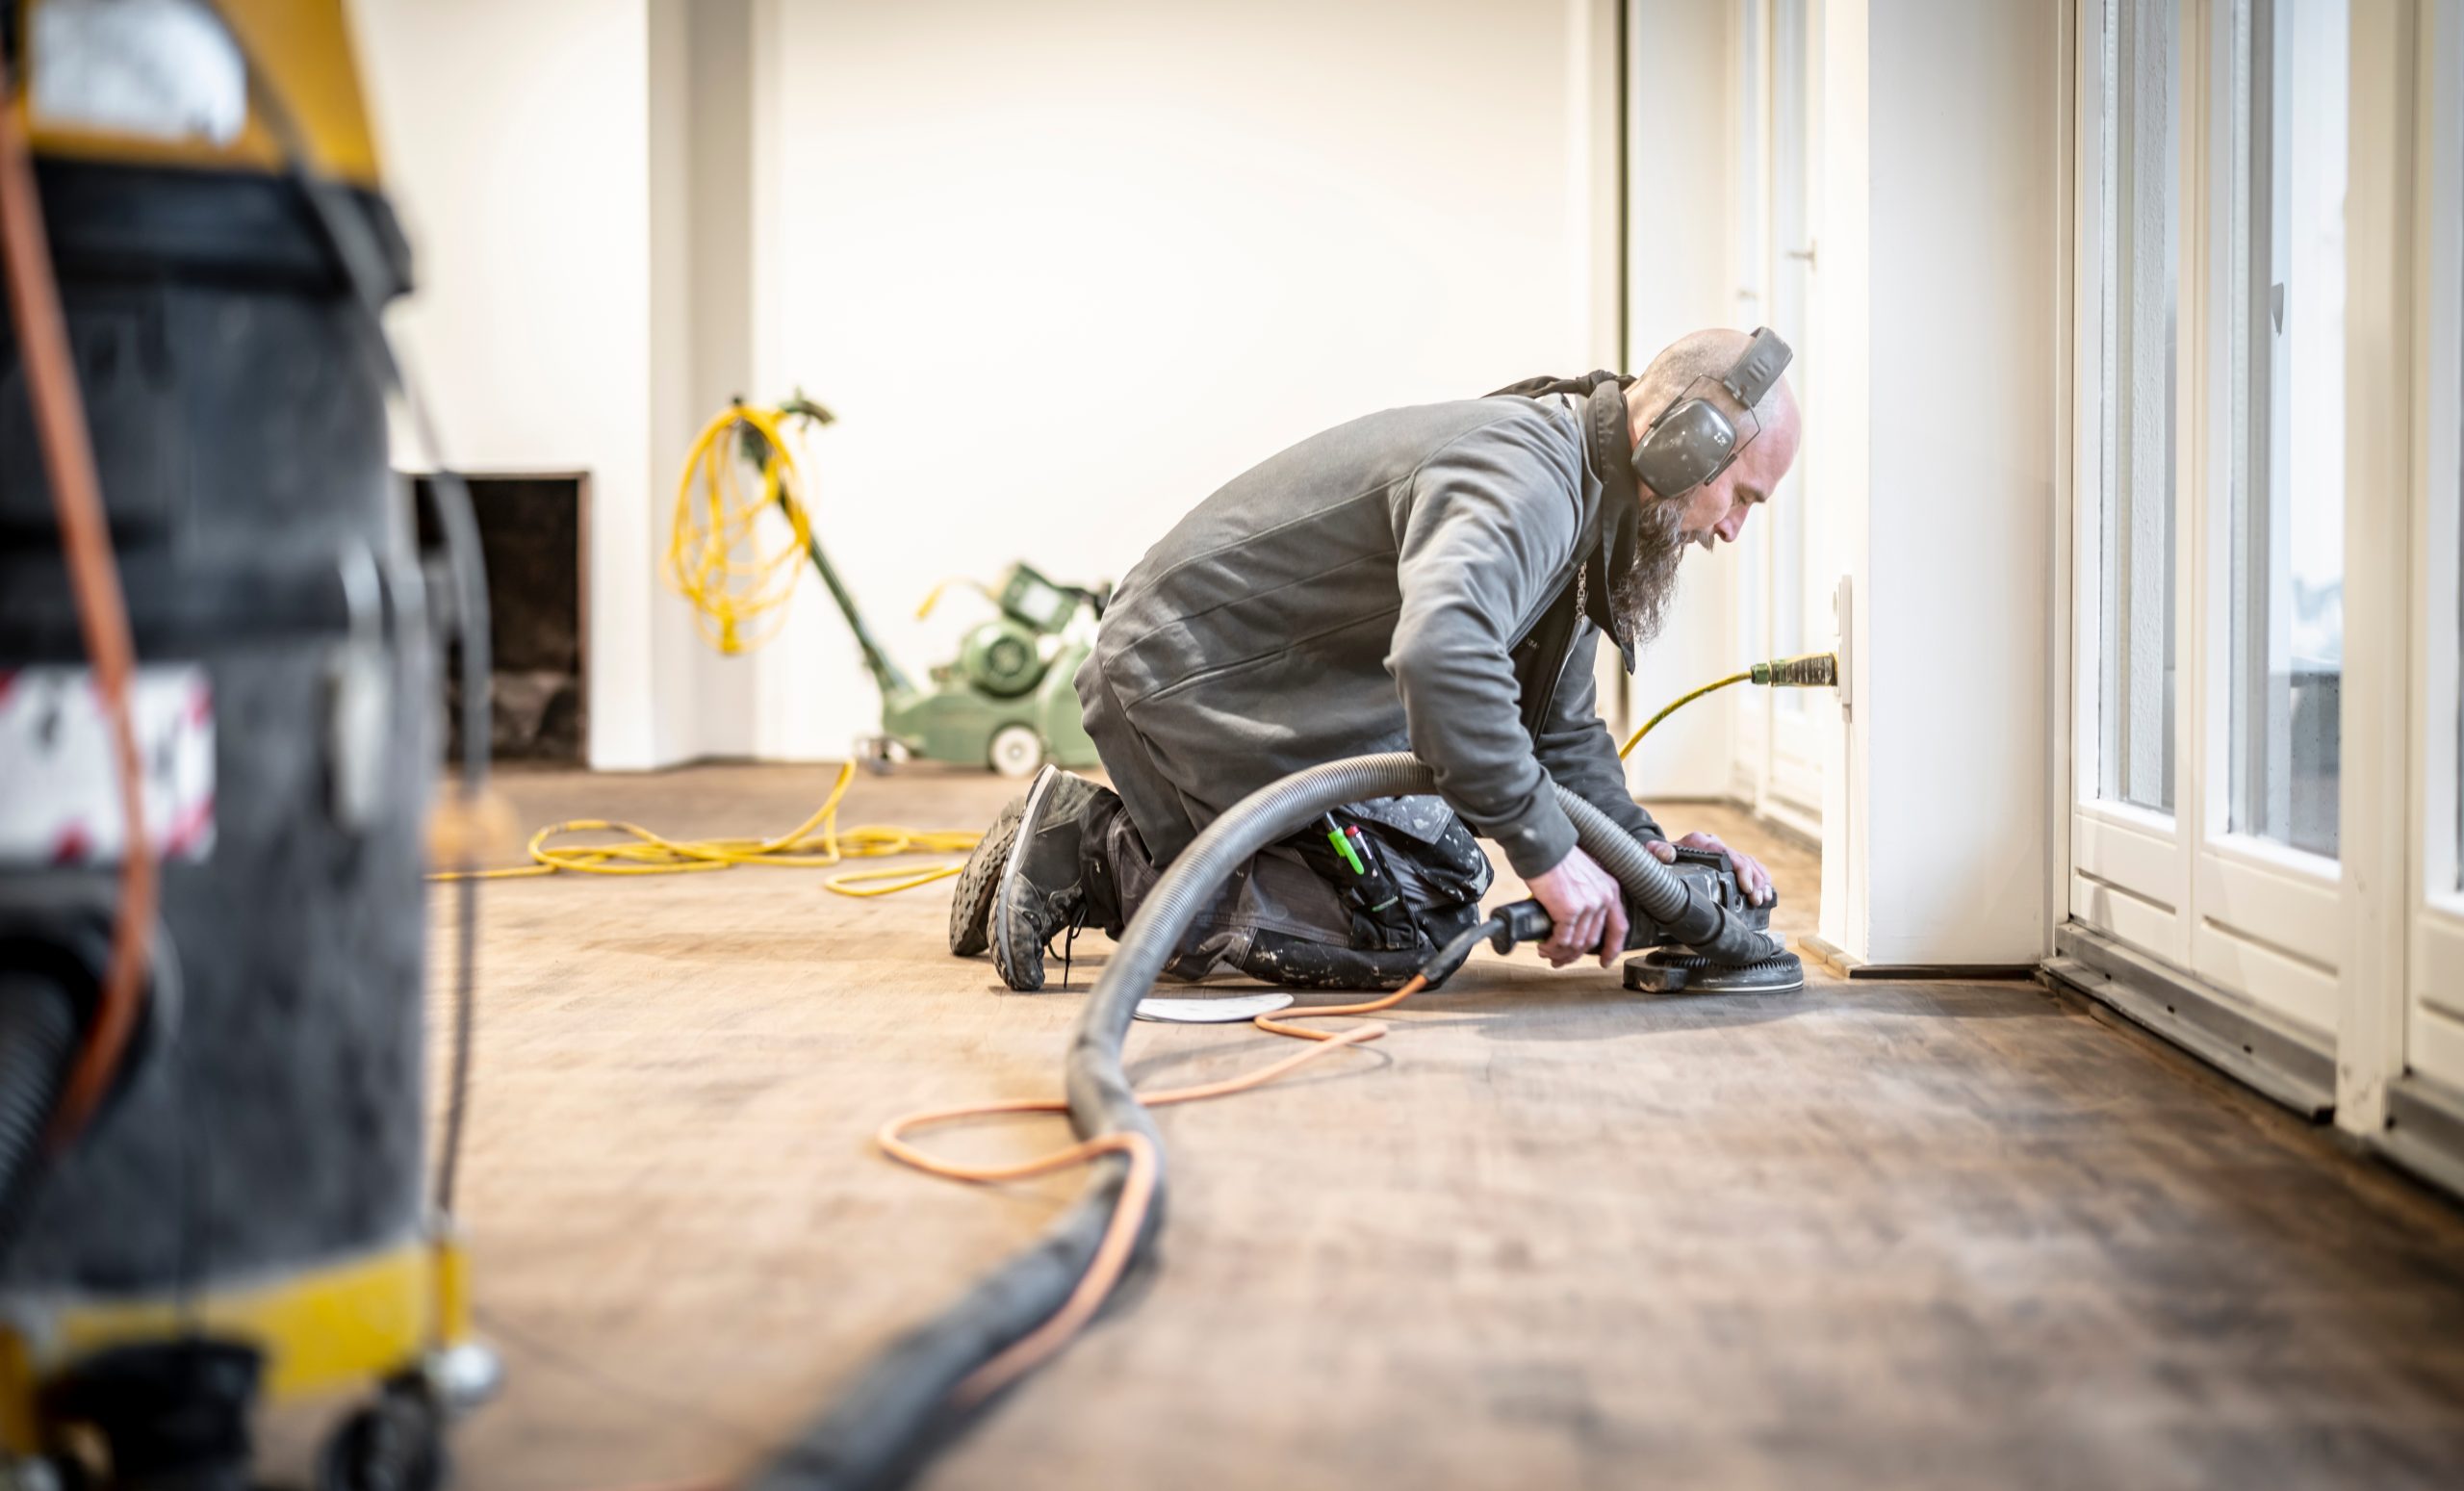
The edger follows the same grit sequence as the drum but demands lighter pressure. Support its weight with your front hand and work in semi-circular motions, blending towards the main field. In corners, switch to a triangular detail sander or 80-grit paper wrapped round a sanding block. Stair treads benefit from a compact palm sander—start coarse, move finer, and keep risers masked to avoid accidental scuffs.
8. Mid-Grit Magic: Removing Scratches & Levelling
At 40-grit your floor already resembles new timber, but faint drum lines and edger swirls remain. Cross-sanding is your ally: run the machine at 15–20° across board direction, then finish the pass lengthwise. This evens out high/low spots and avoids the “washboard” effect. Vacuum meticulously; stray grains become rogue 40-grit bullets under the 80-grit pass, re-scratching the surface in seconds.
9. Fine Sanding: Achieving a Silk-Smooth Surface
The 120-grit stage (or 100 on very soft pine) is less about removal and more about refinement. Move methodically in board direction only, easing pressure as belts wear. Rub fingertips lightly over the boards; if you cannot feel any ridges, you are ready to finish. For parquet, fit a multi-directional screen (mesh disc) to a buffer and polish the surface—this blends grain directions for a uniformly dull sheen that accepts stain evenly.
10. Cleaning Up: Dust Control & Vacuuming
Dust is the mortal enemy of flawless finishes. Follow a two-phase protocol:
- Vacuum the entire floor, skirtings, window ledges, and radiators with a soft brush attachment.
- Tack-cloth wipe using a slightly dampened (not wet) microfibre pad along grain direction.
If time allows, let the room settle for an hour, then vacuum once more to capture airborne particles. Some professionals run an air scrubber during breaks; you can mimic this by placing a box fan in the doorway facing outwards, drawing dust away from the room.
11. Repairs & Gap Filling for a Perfect Canvas
Small imperfections undermine the look and longevity of a dazzling floor. Address them now:
- Hairline scratches or pin holes – mix fine sanding dust with clear resin filler and squeegee across the surface, scraping diagonally to boards.
- Gaps wider than 3 mm – glue 3–4 mm pine or oak strips (slivers) into the void, tap flush, then re-sand with 120-grit.
- Loose knots – spot-fill with two-part epoxy tinted with pigment.
- Board replacement – if a board is cracked or rotten, lift it, cut a new piece to size, and secret-nail through the tongue.
Well-executed filling leaves a continuous surface that finishes saturate evenly, preventing cold draughts and rattles.

12. Choosing Your Finish: Stain, Oil, or Lacquer?
The freshly sanded canvas is versatile. Decide on the atmosphere you want, then pick the product that supports it:
| Finish | Appearance | Durability | Maintenance | Best For |
|---|---|---|---|---|
| Hardwax Oil | Natural, matte to satin | Medium-high | Spot-repairable, re-oil every 3–5 yrs | Family living rooms |
| Water-based Lacquer | Clear, satin to gloss | High | Re-coat whole floor 7–10 yrs | Kitchens, hallways |
| Solvent Stain + Lacquer | Variable colour tones | High | As above | Contemporary colour shifts |
| Penetrating Oil-Stain | Translucent, emphasises grain | Medium | Re-oil 2–3 yrs | Rustic cottages |
| Traditional Wax | Warm, soft sheen | Low–medium | Buff frequently | Heritage restorations |
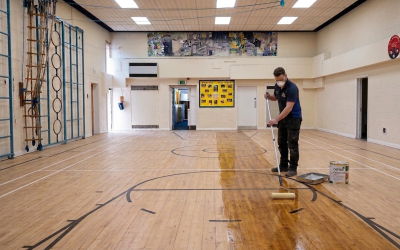
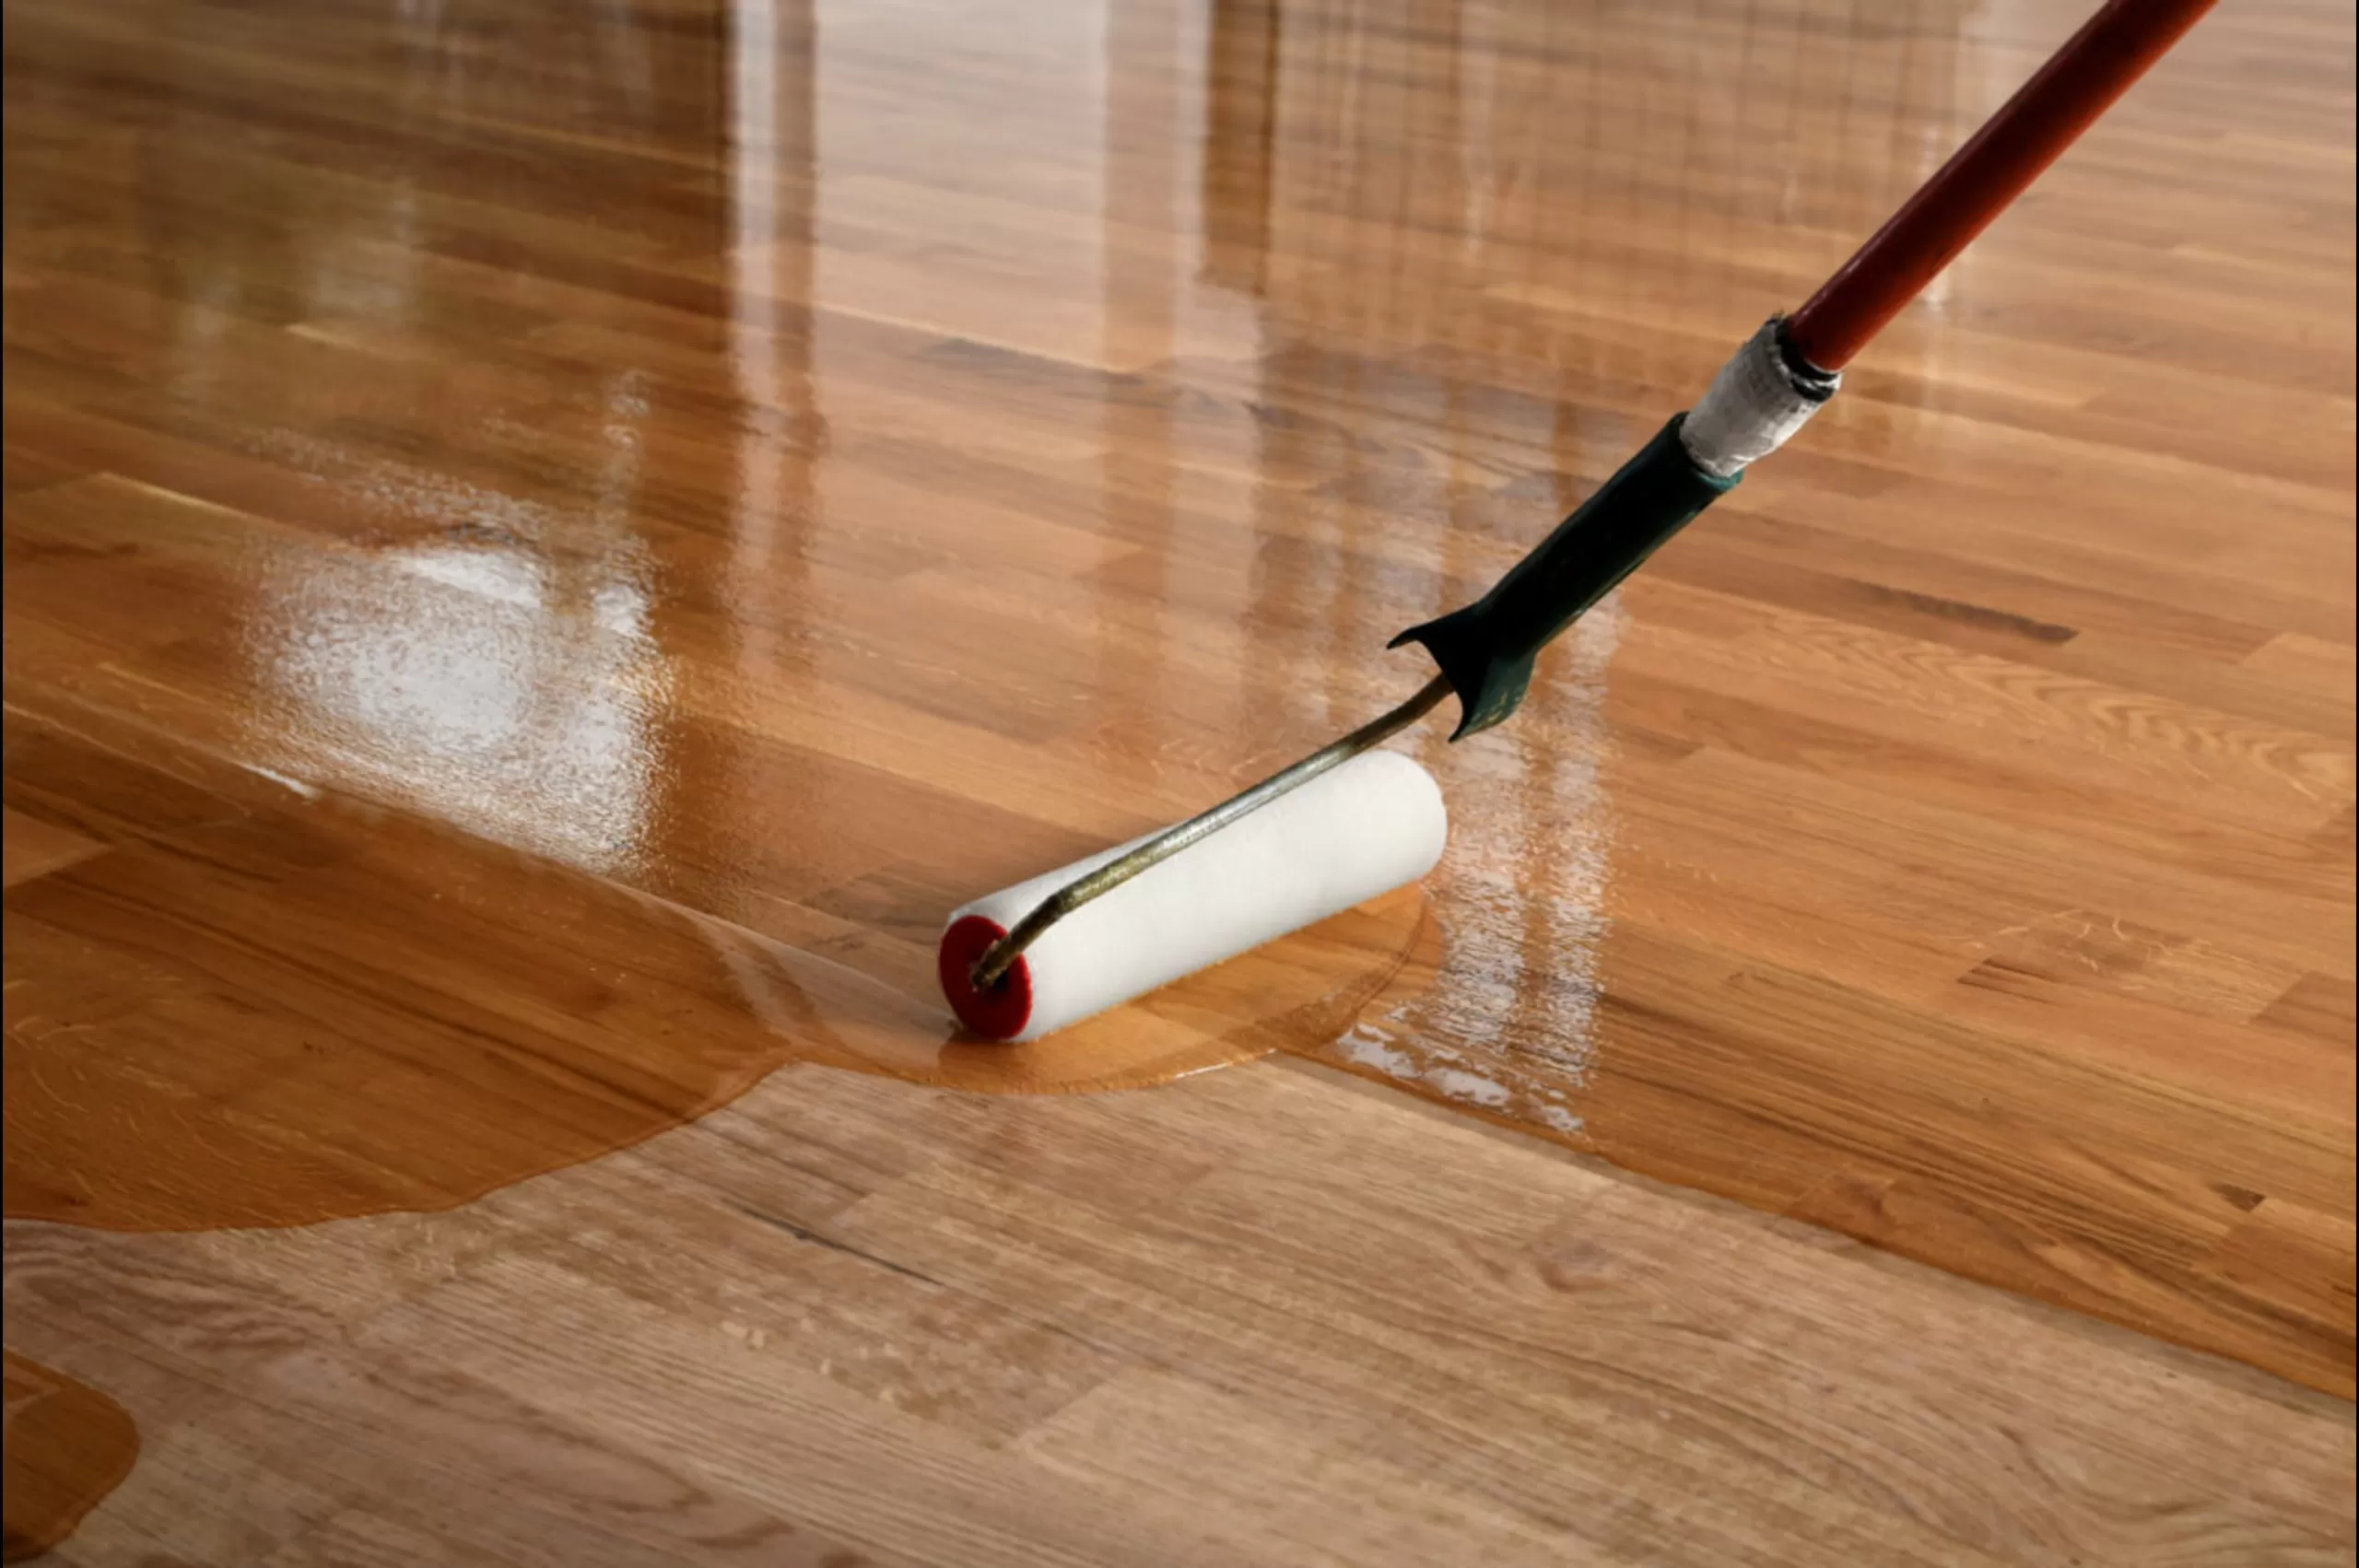
Always apply test patches in an inconspicuous corner and view them under natural and artificial light. Two to three thin coats are better than one thick flood, which risks roller marks and long cure times.
13. Curing & Aftercare: Protecting Your Investment
Most modern lacquers are touch-dry within two hours, usable after 24, and fully cured in seven days. Oils remain vulnerable for 48 hours and reach hardness at around ten days. During cure:
- Avoid placing rugs or heavy furniture.
- Use felt pads on chair legs immediately.
- Keep shoes off—or at least avoid stilettos.
- Control temperature (15–25 °C) and steady airflow; drastic humidity swings can cause blushing or solvent trapping.
For ongoing care, vacuum with a soft brush weekly and damp-mop monthly using pH-neutral cleaner—never a soaking wet mop. Re-coat oils when the surface looks thirsty; buff lacquered floors lightly and apply a maintenance polish every few years to delay the next full sand.
14. Common Beginner Mistakes (and How to Avoid Them)
- Skipping grits – Leaves deep scratches only visible after staining.
- Rushing edge blending – Produces a halo where the edger meets the field.
- Dragging the drum sander on – Creates gouges shaped like runway lights.
- Ignoring filler shrinkage – Gaps reopen within months of seasonal movement.
- Poor dust control – Results in gritty, rough finishes that flake prematurely.
- Applying finish too thickly – Leads to pooling, ripples, and extended cure times.
- Under-estimating time – A 20 m² room often needs a full weekend, not an afternoon.
Learn from these pitfalls, and your journey from dull to dazzling will be smooth sailing.
Conclusion & Next Steps
You now hold the foundational knowledge to tackle wood floor sanding with clarity and confidence. From identifying timber species to mastering the grit sequence and sealing the final coat, each stage demands patience—but rewards you with a floor that radiates warmth and character. If you decide the work is more marathon than sprint, partnering with an accredited professional ensures the same glittering outcome without lifting a finger. Either way, the secret is no longer confined to workshops: the path to dazzling boards starts with a single pass of sandpaper. Ready to transform your space? Lay down that first belt, or pick up the phone, and let the magic begin.